
This is a follow-up to the main dehydrated backpacking meals guide — for anyone who doesn’t own a dehydrator yet. FYI, this post contains affailiate links, so if you click on a link and make a purchase, I may get a small kickback. Thanks for supporting the adventure!

My earlier post about how to make your own dehydrated backpacking meals is by far the most popular article on this site – I’m excited that so many of you out there are jazzed about making your own food rather than relying on expensive store-bought mush meals in plastic packets! But one of the most frequently asked questions is: can I dehydrate food in an oven?
The answer is yes — and not just ovens. Countertop / toaster ovens and air fryers can work too. Your existing kitchen appliances are a perfectly good entry point to get started with homemade trail food without buying new gadgets.
This guide walks you through the safety basics, a few simple gear hacks, beginner-friendly oven projects, and how to safely dehydrate meat like jerky. I’ll also share some starter recipes so you can get going straight away.
Is It Safe to Dehydrate Food in an Oven?
Dehydrating food is simply removing enough moisture that bacteria, yeasts and moulds can’t grow easily. For most fruits and vegetables, that means drying them at relatively low temperatures until they are leathery or brittle.
Most guidance suggests that most plant-based food dehydrates well between about 50–70°C / 120–160°F. Some home ovens can manage this on their lowest setting, but not all. Now you might think, “can’t I just dehydrate food at a hotter temperature? Surely that would make it even safer?” The risk there is that you could end up cooking your food, which you don’t necessarily want. Or if you’re dehydrating a sauce, a higher temperature can create a “crust” on the top surface, trapping moisture inside with no way to escape.
Hacks if your oven runs hotter than you’d like
- Prop the oven door open a crack with a wooden spoon or chopstick to let heat and moisture escape.
- Use an oven thermometer to check the true temperature at your lowest setting.
Top tip: Use a simple oven thermometer to find out exactly how hot your oven is on its lowest setting — there’s often a big difference between what the dial says and reality.
Gear You Already Have (Plus One or Two Cheap Extras)
You don’t need a dedicated dehydrator to make great trail food. Here’s what works:
Appliances
- Standard oven — a fan / convection oven is ideal for airflow.
- Countertop / toaster oven — more energy-efficient than a full oven for small batches.
- Air fryer with a dehydrate function — many modern models include this; effectively a mini-dehydrator.
Other gear you probably already own
- Baking trays and wire racks — racks let warm air circulate under the food, which speeds and improves drying. You can also hack extra shelves using balls of tinfoil and wire racks.
- Baking parchment or silicone mats — essential for wetter foods and ‘meal barks’.
Nice-to-have extras
- Oven thermometer — so you know you’re really in that 50–70°C / 120–160°F sweet spot.
- Wooden spoon or chopstick — to prop the oven door open and help moisture escape.
Note: If you decide you love dehydrating, a dedicated dehydrator will be more energy-efficient and give you far more tray space. But you absolutely don’t need one to try your first batches.
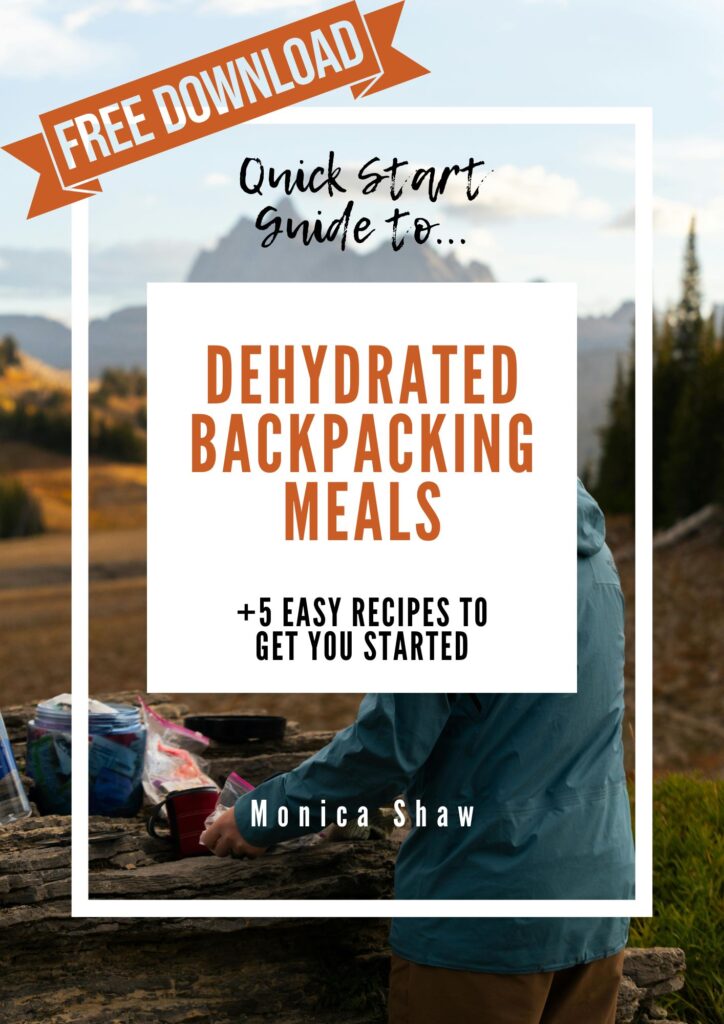
Get the FREE Quick Guide to Dehydrated Meals
Download my free practical and delicious approach to homemade dehydrated meals + 5 easy adaptable recipes to get you started. Enter your email below and I’ll send you a link to download the 20-page PDF.
By subscribing, you agree to recieve occasional emails from me. Don’t worry, you can unsubscribe any time!
What About Air Fryers With a Dehydrate Function?
Many modern air fryers include a built‑in “dehydrate” mode that runs at low, steady temperatures (often around 50–65°C / 120–150°F) with a fan running constantly. That makes them essentially mini‑dehydrators.

Pros of using an air fryer to dehydrate:
- Smaller capacity, which is actually a plus when you’re experimenting with tiny test batches.
- Strong, even airflow from the fan.
- Easy digital temperature control on many models.
The main downside
Capacity. You’ll usually only fit a tray or basket’s worth of food at a time. If you mostly hike solo or just want to try dehydrating fruit, veg, or herbs in small amounts, an air fryer with a dehydrate setting could be a great place to start.
Core Principles for Good Results
Whether you use an oven, air fryer or dehydrator, the fundamentals stay the same.
1. Slice Thin and Evenly
Aim for slices around 3–5 mm thick for most fruits and vegetables. Thinner, uniform pieces dry faster and more evenly, which reduces the risk of mould.
2. Pre‑Treat Where Needed
A few quick pre‑treatments improve quality:
- Blanch sturdy veg (like carrots, peas, sweetcorn, green beans) for a couple of minutes, then plunge into cold water and drain well before drying; they keep colour and rehydrate better.
- Dip apple or banana slices briefly in lemon water or a weak citric acid solution to reduce browning.
3. Go Low and Slow
Set your oven to its lowest temperature, ideally around 60–70°C / 140–160°F. If it can’t go that low, use the thermometer and crack the door. You are gently removing water, not baking dinner.
4. Maximise Airflow
Spread food in a single layer with space between pieces, and use racks where possible. If pieces touch, they’ll stick and dry unevenly.
5. Know When It’s Done
Drying times vary wildly depending on thickness, water content and your particular oven, so treat any times as guidelines only.
- Fruit: leathery and pliable but not sticky; no visible moisture when you tear a piece.
- Vegetables: hard and brittle.
- Cooked “barks”: fully dry and crisp; no soft spots when you press the thickest part.
When in doubt, keep drying – over‑dry is safer than under‑dry for storage.
6. Condition and Store
Once dried, pack food loosely in jars or tubs for a week, shaking daily. If you see condensation or clumps, some pieces weren’t dry; pop them back in the oven.
After conditioning, store in airtight containers or freezer bags, labelled with contents and date, somewhere cool and dark – or in the freezer for longer shelf life.
Beginner‑Friendly Oven Projects
Here are three simple projects that work well in a standard oven and are particularly useful for backpacking.
1. Apple or Banana Chips

Great as trail snacks or porridge toppers.
How to:
- Core apples if you like, and slice into thin rings or wedges; or slice bananas into coins.
- Optional: dip in lemon water for a few minutes to prevent browning; drain well.
- Arrange on parchment‑lined trays in a single layer.
- Dry at your oven’s lowest temperature until pliable and leathery, flipping once partway through.
Drying time: 6–10 hours at 60–70°C / 140–160°F. Apples tend toward the longer end; banana coins are usually quicker. Convection oven: subtract about an hour. Air fryer with dehydrate setting: 4–6 hours. Done when leathery with no sticky spots when you press them.
Flavour tip from The Salty Pot’s guide to dehydrating foods in the oven: “Make sure you don’t group different food families together while dehydrating them and don’t dry items with strong odors with other items. The odors can be transferred into the other foods. Eg: Don’t dehydrate diced garlic with apple slices. You could be in for a rude flavor experience.. haha!”
2. Mixed Veg for Soups and Noodles

Handfuls of mixed veg can turn basic instant noodles or couscous into something that feels like a meal. The sky is the limit here as to the type of vegetable you use. Oven-dried kale is a favourite of mine – I have an obsession with greens! But most vegetables work a treat.
How to:
- Use frozen mixed veg (peas, carrots, sweetcorn) or blanch fresh veg briefly, then cool and drain well. If you’re going for starchy veg like potatoes or squash, boil them until their completely soft.
- Spread on racks or parchment‑lined trays.
- Dry at low heat until the vegetables are hard and brittle.
Drying time: 5–8 hours at 60–70°C / 140–160°F. Frozen veg (pre-blanched) dries faster than fresh. Check at 5 hours — done when hard and completely brittle with no give. Air fryer with dehydrate setting: 3–6 hours.
Use on trail by throwing a small handful into instant noodles, couscous or soup; let them simmer or soak until tender.
3. Simple “Chilli Bark” (Meal Bark)
Meal “bark” is a cooked, blended meal spread thin, dried until crisp, and broken into shards. It rehydrates into something very close to the original dish – perfect for hearty trail dinners. And you can pretty much add anything to them for endless versatility.
How to:
- Cook a thick chilli or tomato‑based pasta sauce as you normally would.
- Optionally blitz briefly with a stick blender so there are no big chunks.
- Spread a thin, even layer on lined trays.
- Dry on low heat until completely crisp, turning once if needed.
- Break into pieces and condition before storing.
Drying time: 10–16 hours at 60–70°C / 140–160°F. The wide range reflects how much liquid was in your chilli — tomato-heavy recipes take longest. Spread as thin as possible (2–3mm) and flip the sheet halfway. Press the thickest part to check: no soft spots means it’s done. When in doubt, keep going. Air fryer with dehydrate setting: 8–12 hours.
On trail, place bark in a pot, cover with boiling water, and let it soak (or gently simmer) until it dissolves back into a sauce, then serve over instant rice, pasta or couscous.
Can You Make Jerky and Dehydrate Meat in an Oven?

Yes — as long as you follow meat-specific safety guidelines. Meat is higher risk than fruit or veg and requires higher temperatures.
Key safety points
- Heat meat to an internal temperature of at least 71°C / 160°F for beef, or 74°C / 165°F for poultry, before or early in the drying process, to kill pathogens.
- Then dehydrate at around 63–70°C / 145–160°F with good airflow and the door propped open slightly.
A typical oven-jerky workflow
- Slice lean meat thinly (partially frozen is easier to slice evenly).
- Marinate in a salty, acidic marinade in the fridge.
- Heat the strips to a safe internal temperature, either briefly in the oven at higher heat, or in a liquid.
- Lay strips on wire racks over trays.
- Dehydrate at about 70°C / 160°F with the oven door propped slightly open.
- Cool, test for dryness (bends and cracks but doesn’t snap, no visible moisture), then store in airtight containers. Refrigerate or freeze for longer storage.
| Important: Meat safety depends heavily on temperature accuracy and hygiene. I’d always encourage following a detailed, tested recipe rather than winging it — resources like Jerkyholic’s oven jerky guide are good places to start. |
Common Oven‑Dehydrating Mistakes (and Easy Fixes)
A few pitfalls I see a lot – plus how to avoid them:
- Using too high a temperature: if the edges are browning before the centres are dry, your oven is too hot. Use a thermometer, lower the setting and crack the door.t
- Over‑crowding trays: overlapping pieces trap moisture and dry unevenly; do more, smaller batches instead.
- Stopping too soon: slightly “too dry” is safer than under‑dry for storage, especially for trail meals. If in doubt, keep going.
- Expecting it to be quick: oven dehydration can easily take 4–12 hours depending on what you’re drying, so treat it as a background project while you’re home anyway.
What To Do Next
Check out my deep dive post on homemade dehydrated backpacking meals or explore all of the recipes on this site.
If this has you excited about leaving packet mush behind, my ebook brings it all together: full, trip‑tested recipes, detailed instructions, sample menus, and packing notes tailored for real hikes:

Tired of Sad Expensive Packet Meals on the trail?
Fuel Your Adventures with Real Food
Turn your favourite home dinners into light, packable, actually-delicious backpacking meals. Learn exactly how to dehydrate, store, and rehydrate hearty plant-based recipes so they taste great at camp and don’t weigh you down. Perfect if you want real nutrition, less plastic packaging, and dinners you’ll look forward to all day. This bargain £4.99 eBook includes no nonsense tips for home dehydration, plus 20 adaptable world-inspired plant-based dinners to get you started.
 Quinag Point to Point Adventure
Leave a Reply