This is the first in a series of posts that detail the conversion of our Ford Transit Custom panel van (a hugely exciting upgrade from our beloved Transit Connect!). This post contains some affiliate links – if you purchase anything after clicking those links, we might get a kickback which will help us pay for the conversion. Thanks!
When starting with a panel van, installing windows can be an important first step. Windows aren’t absolutely necessary, but they can certainly turn a cavernous, [boring], panel van into something light and airy. It’s also a good idea to do first while the van is empty – you’ll generate lots of metal dust and shards, which are far easier to clean up in an empty van. It also sets the scene for planning van furniture.
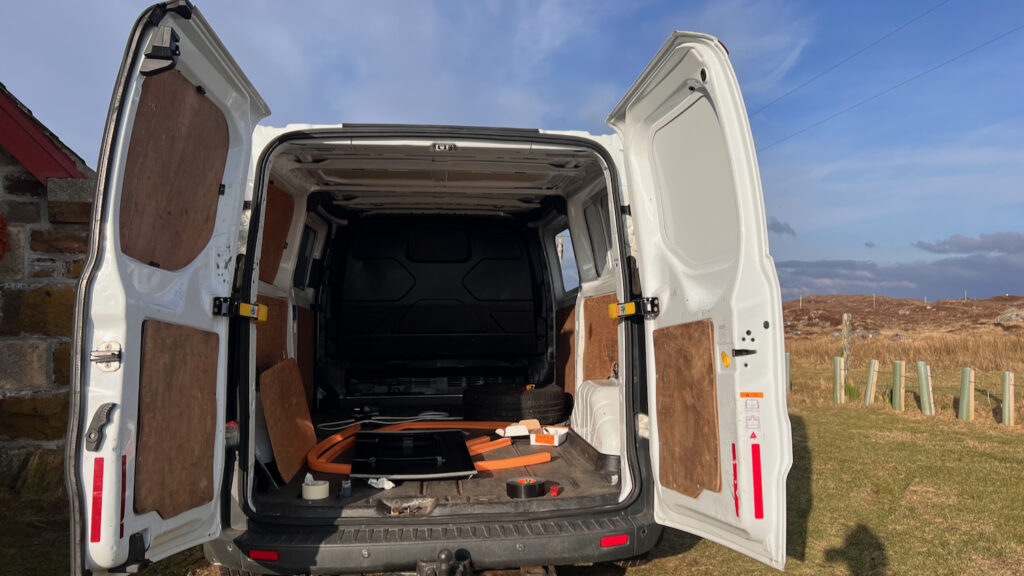
Drilling a hole into your van sounds really scary. (I let a professional do my windows on the connect, for fear of getting it wrong.) We came into this van with a bit more confidence and decided to give it a go ourselves, starting with side windows.
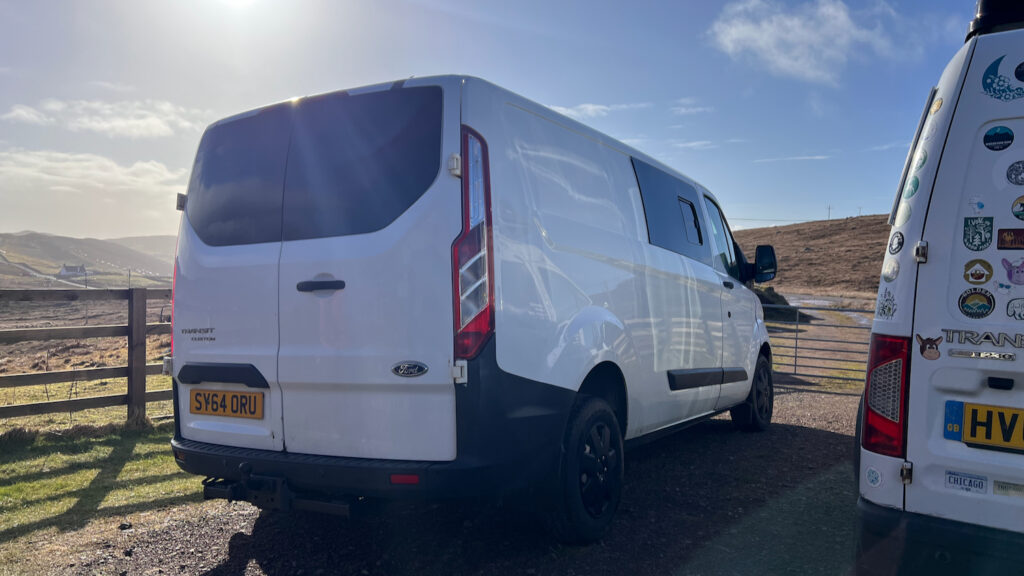
It was actually quite easy! So easy, that we right away ordered some rear windows. The whole feel of the van has changed and we’re thrilled. So for anyone else out there who wants to give it a go, here’s a few pointers…
DIY Van Window Installation: Tools for the job
- Windows – we bought side windows (one which opens) and rear windows from vanpimps.co.uk (£433)
- Bonding kit – you can get Masterbond and primer as part of a kit from van pimps, but it’s much cheaper on Amazon!
- Caulking gun for use with the Masterbond cartridge (something like this)
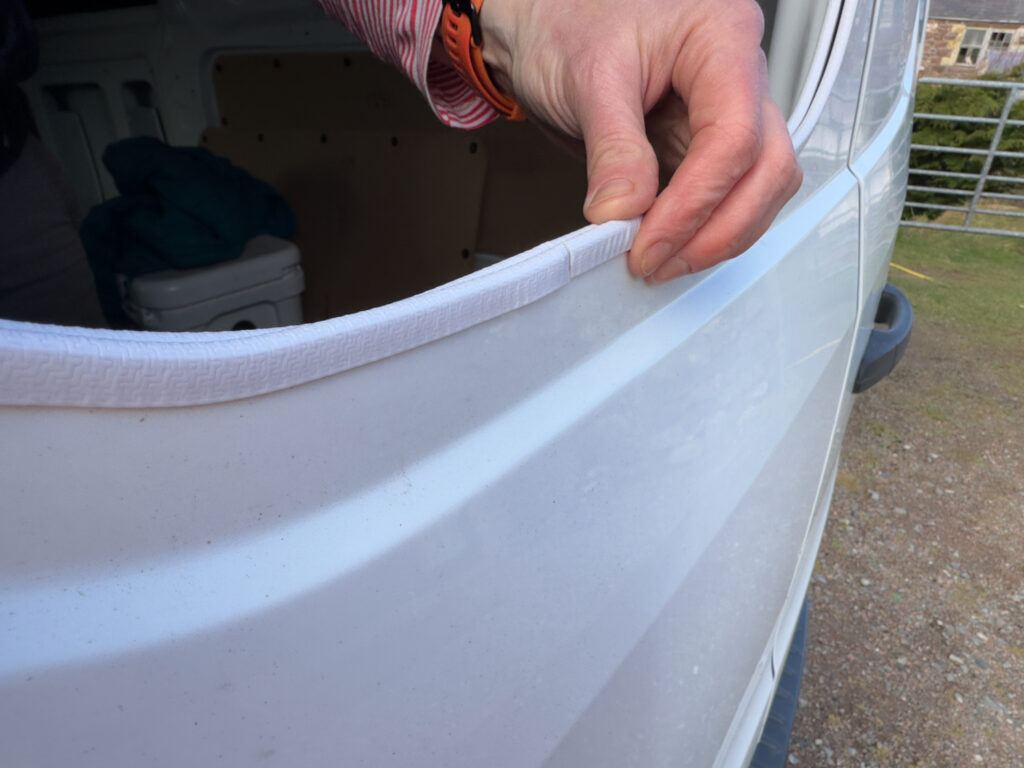
- U-channel edging strips. We had some from vanpimps but found them way too thick and hard to install, so we picked up some cheapo u-channel strips from Amazon which worked great (£11.99)
- Drill with metal drilling bit
- Jigsaw with metal cutting blades
- Masking tape
- Duct tape
- Gloves, safety glasses, clothes you don’t mind catching on sharp metal edges!
DIY Van Window Installation: Basic Steps
Drill holes from the inside of the van around the edge of the window (the internal panels of the Transit Custom make this a no brainer – just follow the edges that already exist within the van). This forms the template for cutting the window with the jigsaw. Make sure to make one hole big enough to fit a jigsaw blade!
On the outside, connect the dots with a marker so you have a clear guide for cutting. Use a jigsaw with a metal blade to cut the hole.

Use the u-channel edging strips to cover the cut edge.
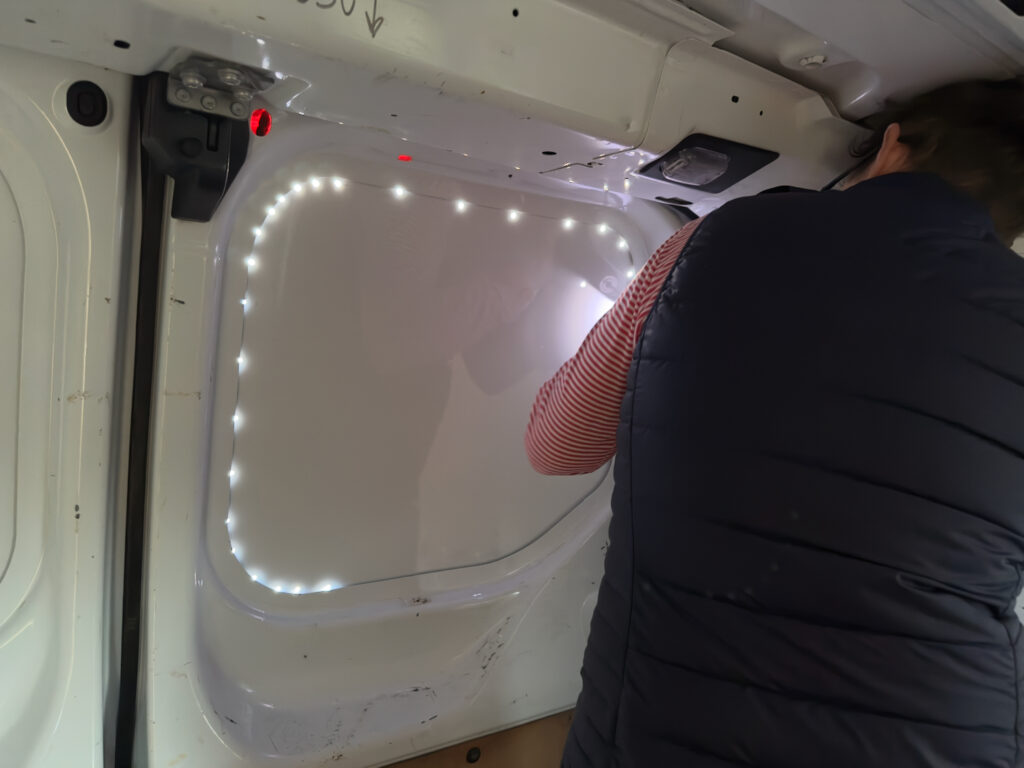
Use masking tape on the sides of the window and van to make it clear which area is bonding to which (see photos).
Apply primer with the sponge applicator around the edges of both the van and the window.


Apply mastermind with the caulking gun.
Carefully align your window and stick it onto the van – push hard around the edges so it seals. The glue sets alarmingly quickly so there’s no room for error!
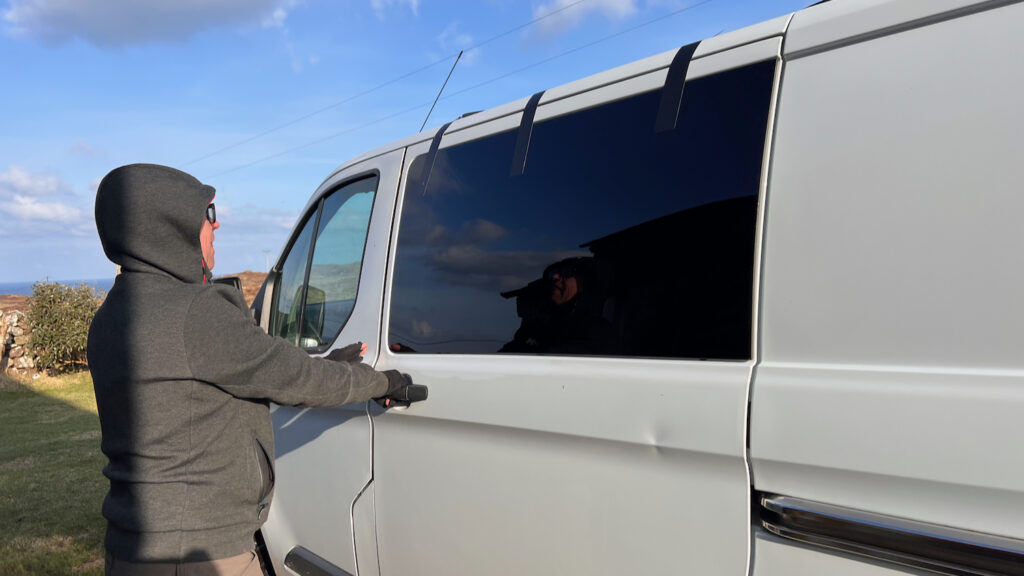
Use a few pieces of duct tape to secure the top of the window to the van – this is to avoid the window from drooping as the glue dries (which only takes about 30 minutes).
That’s it!
Transit Custom Side window gallery


Transit Custom Rear Window Gallery


 Comandante C40 Hand Coffee Grinder Review
Leave a Reply