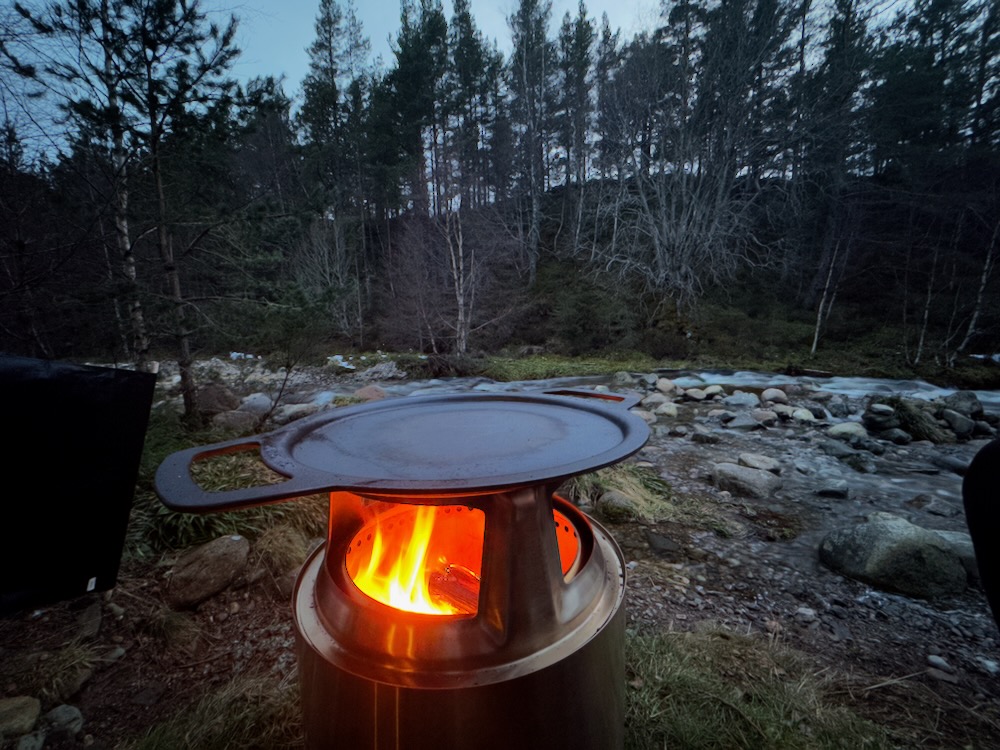
We recently purchased the Solo Stove Ranger Cooking Bundle which we’ve been using almost daily since it arrived. Since then I’ve had a few messages from people who’ve seen my pictures on Instagram and asked if the Solo Stove was as good as it looks and worth the high price tag. Here is my honest review.
To be clear, we purchased the Solo Stove Ranger with our hard earned cash – no one’s paying us to write this. The decision was long in the making, and I’ll admit, I pushed back at first!
Mark suggested we purchase a Solo Stove early on in our van life espcapades, but I immediately thought it would be too big to lug around in the van. Moreover, I couldn’t justify the expense when we already had a Weber Smokey Joe which we’d been using as a combination fire pit + barbecue. I love the Smokey Joe; it’s compact, packs away into its own carry case, and is great for cooking.
A few months later we started living in the van full time and were using the Weber a LOT because, trust me, in Scotland, you relish a bit of warmth in the evenings – and who wants to sit cooped up in a tiny van all the time?
It quickly became clear that the Weber’s utility as a barbecue did not extend to a fire pit. You could make a fire, but it didn’t really warm you up, and lacked sufficient ventilation at the bottom so wood fires were often smokey and apt to burn out. After one frigid failed attempt at a Smokey Joe fire, I suggested we start looking seriously at a purpose-made outdoor fire for cooking with. We deliberated over a few options, including the similarly pricy Snow Peak Takini Fire & Grill but ultimately settled on the Solo Stove Ranger Cooking Bundle with cast iron griddle.
Backstory over. Onwards with the review!
Solo Stove: What’s all the hype about?

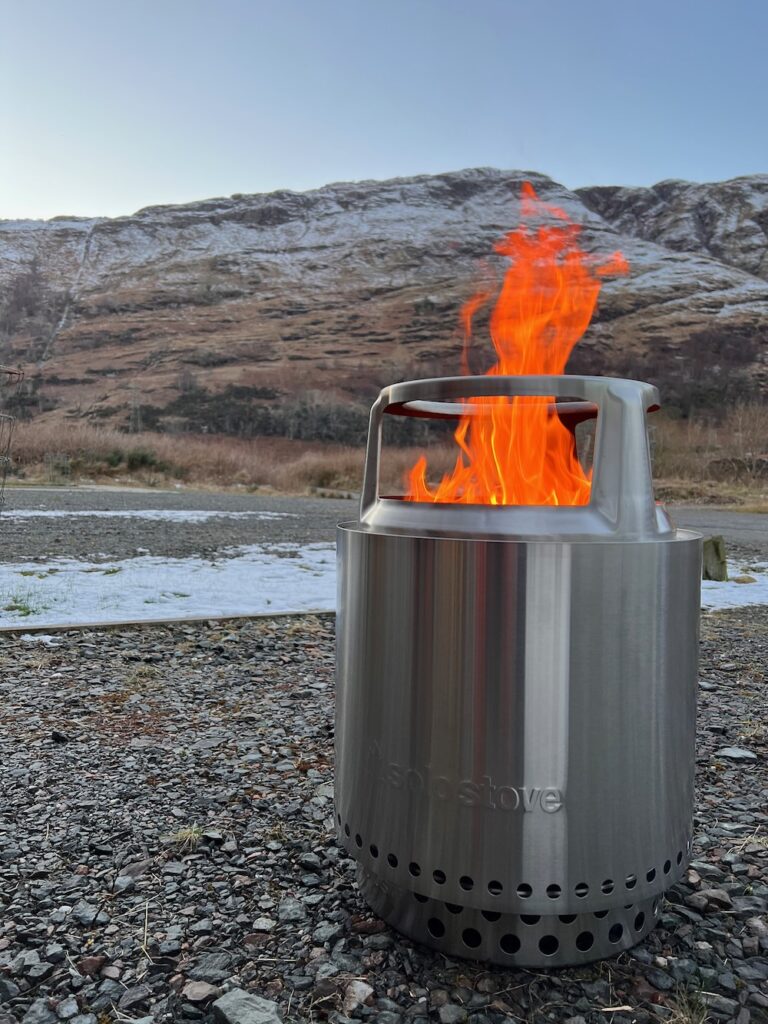
Solo Stoves come in 4 sizes, from the small tabletop “Mesa” to the mahoosive “Yukon“. All of them are based on the same stainless steel double-walled design with their signature system of top and bottom holes. It’s these holes that contributed to its “360° Airflow Design™” which is their main claim to fame, designed to minimise smoke and maximise heat.

It’s pretty clever – the design allows air to be drawn in from the bottom, feeding fire at the bottom of the base, and heating up oxygen which rises to the top feeding fire in the higher flames, that so-called “secondary burn”. The result is lots of heat, a slower burn, and less smoke.
Solo Stove asserts that their stoves are virtually smokeless, as any smoke created circulates along with the airflow, never leaving the contraption.
So is it really smokeless?
It’s pretty close. In our use of the Solo Stove Ranger thus far, the only true smokiness happens when you first light the fire as the logs catch. After that, smoke is at a minimal. And there’s way less of that smokey hair and clothes after effect that you often get after a night around a campfire, which is pretty remarkable. We’ve both noticed that despite using the stove almost daily, we barely catch a whiff of smoke on ourselves or our clothing in the aftermath. This was an unexpected bonus I hadn’t really considered!
We also observe there’s very little ash in the fire pit when the fire’s burned out – the removable ash pan makes it easy to discard any remaining ash.
How Portable is the Solo Stove?
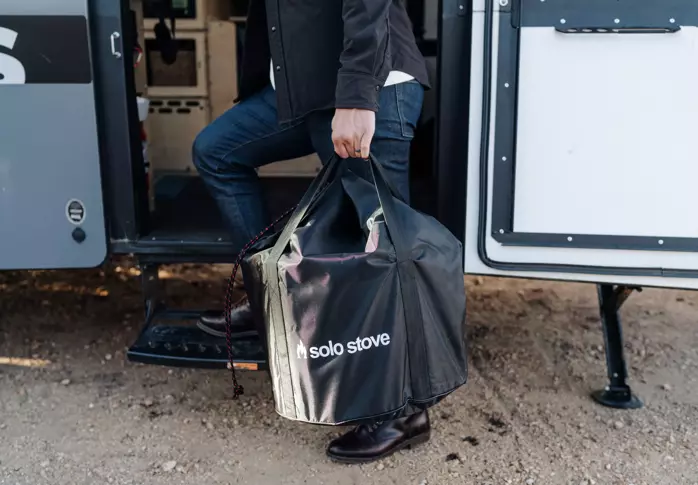
Solo Stove’s other big USP is its portability – all stoves except the giant Yukon come with its own carrying case. We opted for the Ranger as a balance between size, functionality, and portability, sold on Solo Stove’s claim that it’s “The fire pit sized for every adventure. Easily light up a smokeless fire anywhere life takes you.”
My concerns that it would take up excessive space were pretty unfounded. Here’s the specs:
- Diameter: 15 in | 38 cm
- Height: 12.5 in | 32 cm
- Weight:15 lbs | 6.8 kg (that’s pretty light for a fire-it)
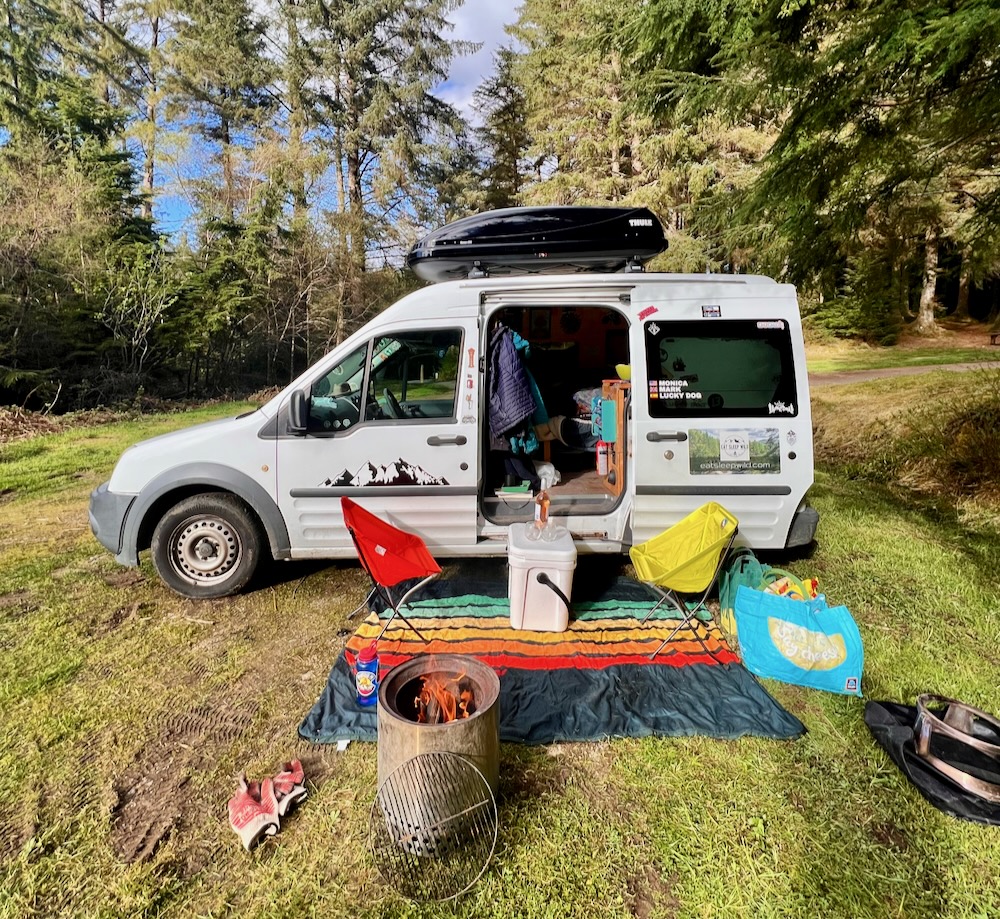
The Solo Stove ranger fits in our Ford Transit Connect very easily and is extremely easy to move around. Our only quibble was the carry case… the opening is awkward and it’s nearly impossible for one person to put the fire pit in the case right side up. Our workaround is to put the case on over the fire put when it’s upright, then turn it upside down. Perhaps not the neatest cleanest solution if there’s any ash left in the fire-pit, but it works.
What do we think of the Solo Stove cooking system?
We purchased the Ranger Cooking Bundle with the Cast Iron Griddle – similar bundles are available with a grill or wok. The extra bundle goodies are basically two things: a substantial cast iron griddle and a “hub”, a contraption that elevates the griddle for cooking. The hub packs neatly into the Solo Stove itself for easy travel. Overall we’ve enjoyed the system but it’s been a learning curve as the griddle itself needs to be “seasoned”:
Cast iron needs to be properly seasoned so it can be used for years to come. When your cast iron has dried after cleaning, lightly coat the entire surface with the oil. Wipe away excess oil, then let your cast iron heat for 20 minutes in the oven, on the stove, or even over hot coals in your fire pit.
Solostove
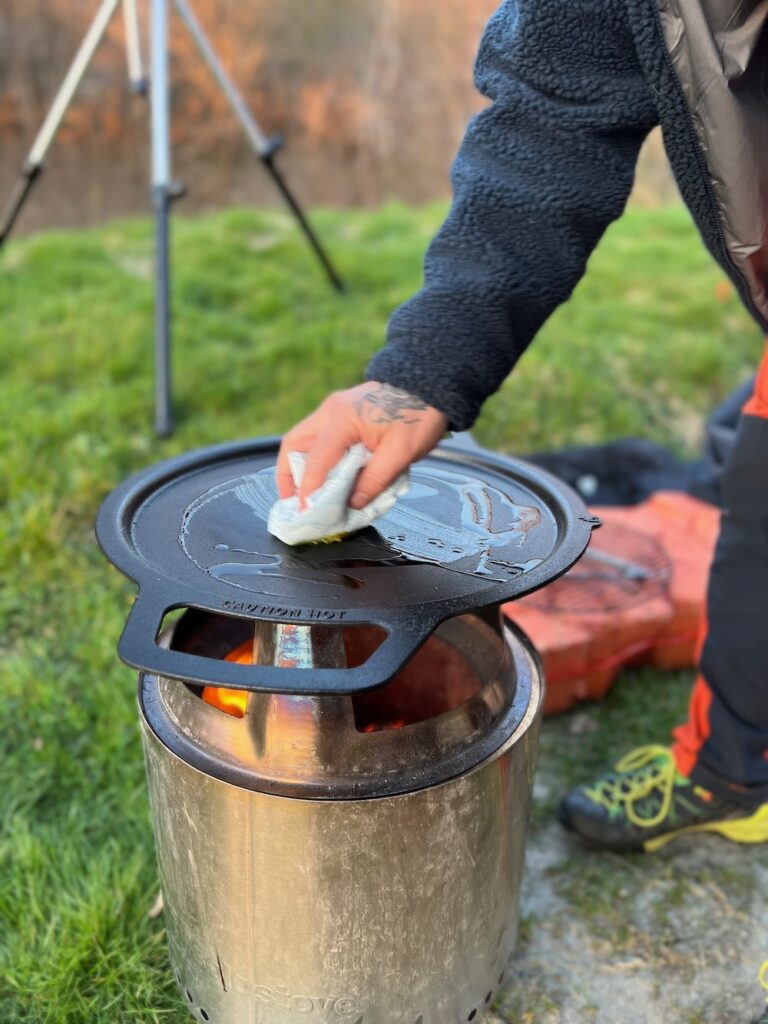
We’ve been using flax oil to season the pan and have done this several times over the fire itself. We had a few niggles at the start, as the pan would collect condensation overnight and end up rusty in the morning! We’ve since purchased the carry case for the griddle and try to be tenacious about putting it back into the case as soon as it cools, which has solved that problem (and also makes it easier to transport). The carry case doesn’t seem to be available in the UK but we were able to find it on their USA site for a hefty $39.99!
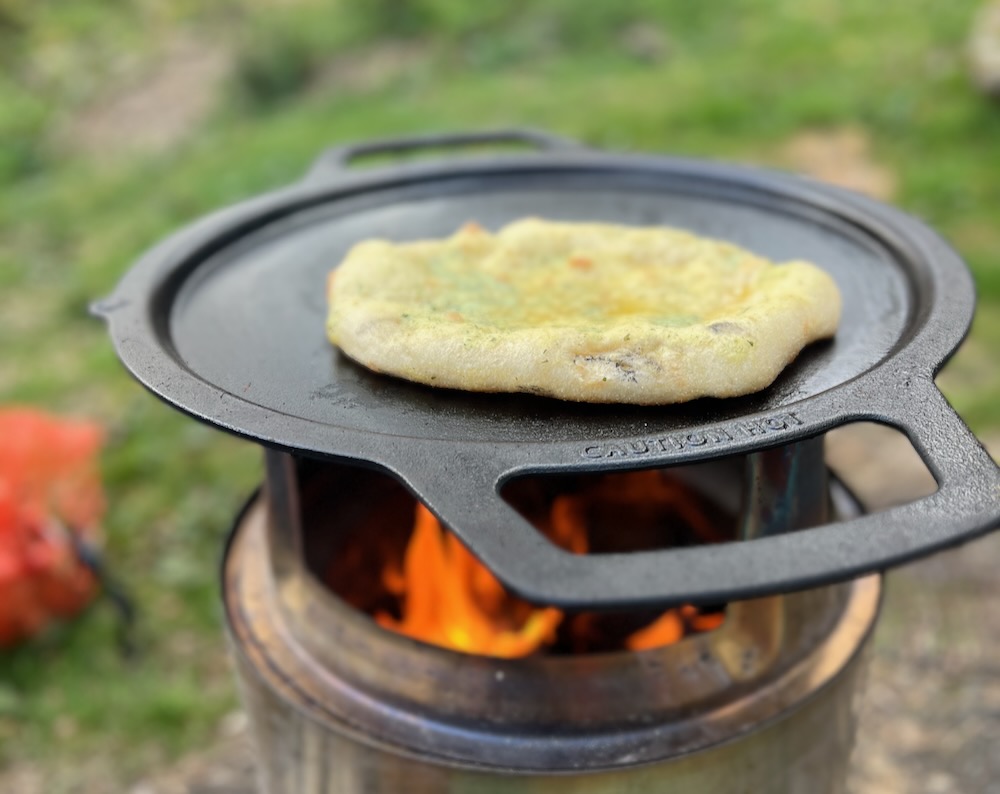
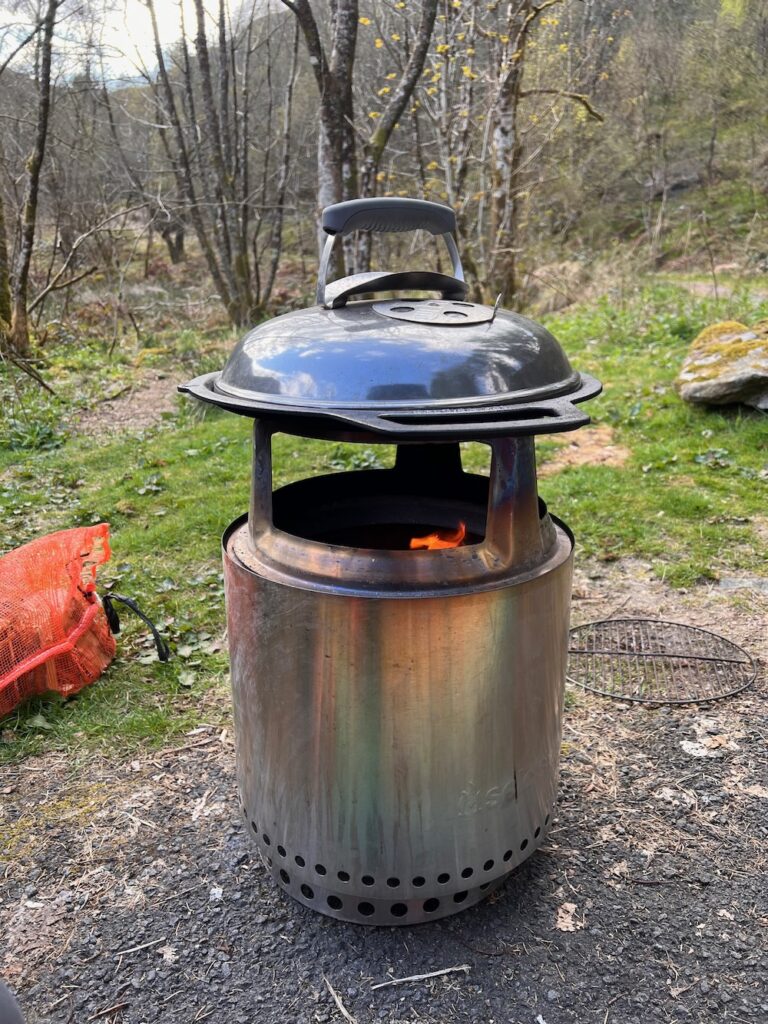
To be honest, we haven’t done much direct cooking on the griddle – there are pictures of people frying eggs on the griddle on their website, but my cast iron paranoia has stopped me from such ambition (disbelief that it’s actually non stick). We have, however, used the griddle extensively for flatbread garlic bread, chapatti and tortillas. Here’s a cool hack: the Weber Smokey Joe lid fits perfectly over the griddle, making for a makeshift pizza oven! (Solo Stove also does a pizza oven accessory of its own.)
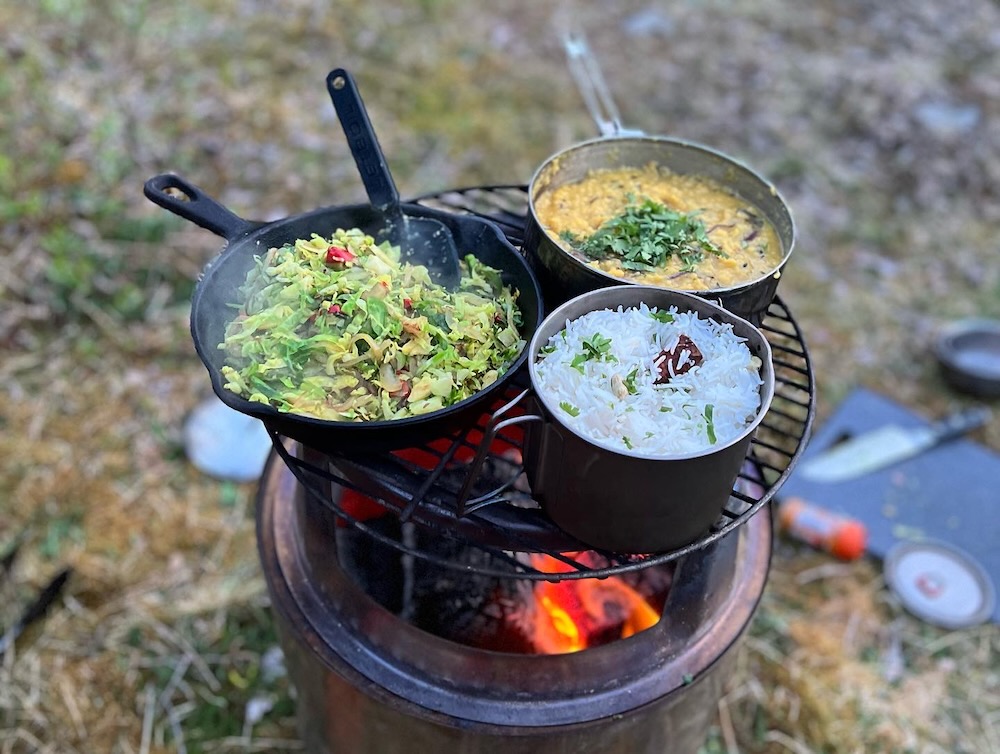
One great thing about the griddle is it provides a huge surface for pots and pans so you can, for example, cook up a wok meal with a side of rice or quinoa with no issues!
I don’t believe that the cooking hub is absolutely necessary for a great cooking experience with the Ranger. We’ve occasionally used charcoal in the Ranger with the Weber Smokey Joe grill (which also fits perfectly on the Solo Stove Ranger) as a make shift barbecue for direct cooking. When the cooking bundle nearly doubles the cost of the whole Solo Stove system, it does make you wonder if it’s actually worth it. Which brings me to my next point.
Cost / Benefit Analysis
In addition to its 360 Airflow Design, the Solo Stove is also known for being very expensive.
The Ranger on its own currently costs £184.99, while the Ranger with Griddle Cooking Bundle is £329.99 (an additional £145 pounds for a stainless steal contraption and an admittedly very nice and large cast iron griddle – but wow!).
I think much of it comes down your personal passion for fire times.
If you’re the kind of person who enjoys having fires regularly, then you will be over the moon. The Solo Stove enables fire times because it makes it very easy to have a fire anywhere you happen to be, with little effort, and little mess in the aftermath. You will appreciate the quality workmanship, and find every excuse you can to use it.
If, however, you’re only an occasional fire pit user, you might begrudge the spend, and find yourself annoyed every time you look at it, well aware that you spent the cash but now it just sits there in a corner of the garden! (Top tip: you can purchase a “shelter” for all of their stoves, basically a heavy-duty weather-proof cover so you can store it outside year-round.)
Solo Stove Ranger: Overall Verdict
If you haven’t gathered from this post so far, we love the Solo Stove Ranger. We use it most days of the week, often for cooking, sometimes just for warmth. The expense was well worth it for these features we love:
- It’s just so easy to use – you can light it easily with a couple of fire lighters and some kindling – and the stove itself acts as its own wind break
- It burns clean with very little smoke
- It’s totally contained so minimises fire risks
- You can sit up close to it and really enjoy the heat
- It doesn’t burn grass or leave a mark on the ground when you use the stand (an optional accessory that comes with some of the bundles) – it’s totally leave no trace so you can be a responsible fire starter wherever you go
- Thus far it hasn’t rusted, however it has developed a “patina” – you could polish the stove, I suppose, but who would polish a firepit?
As to the cooking system, we’re not totally convinced it worth the extra expense. We reckon the stove plus the stand plus some kind of grill grate would be a sufficient starting point for cooking with the Solo Stove.
How we use the Solo Stove, from fire to feast
Here’s a few extra items we keep on hand to optimise our enjoyment of the Solo Stove
- Fire lighters, kindling, and a pack of logs
- Lighter, obviously!
- Heat resistant gloves – lots of options available for these, we just went with this cheapo pair of Ove Gloves that work fine!
- Long tongs – again, nothing fancy
- Cast iron skillet, large wok, and various pots and pans
- Fire extinguisher – you never know!
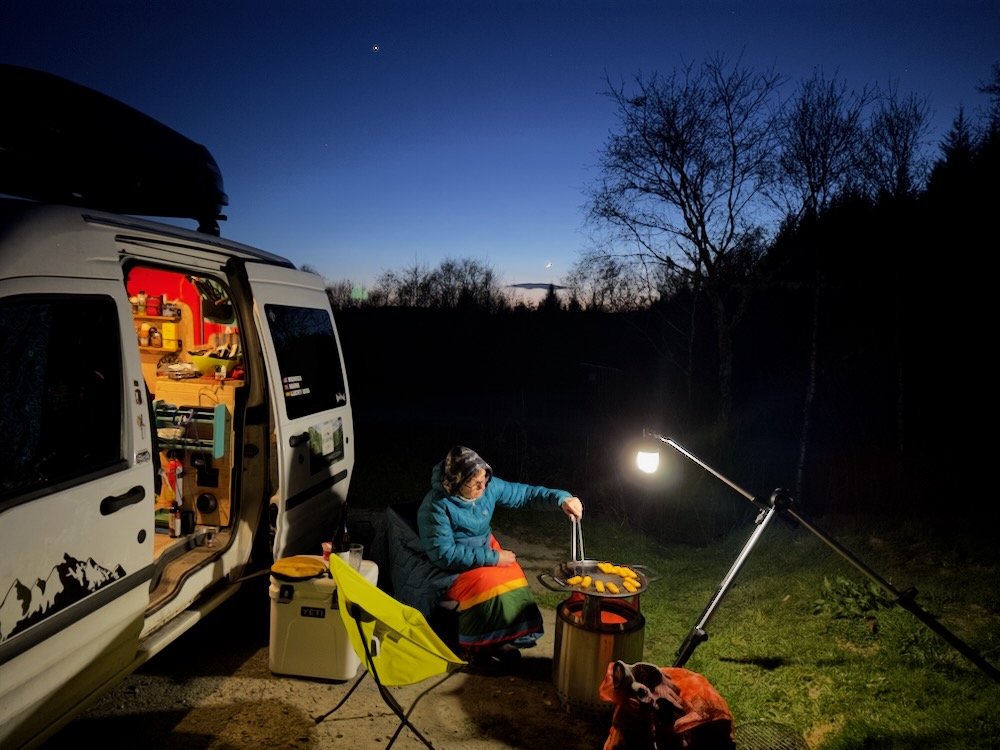
We tend to the light the fire as soon as we park up – it lights easily with a few firelighters, a little kindling, and a couple of logs.
We usually stack it up with a load of wood and get a good warm fire going. Then after an hour our two, once there are some good hot embers, we get cooking!
On occasion when we want to cook directly over fire we use good quality charcoal – I’ve been using these ecoblaze briquettes recently which seem to have a long burn time and great heat output.

You can learn more about the Solo Stove and check out their full range over on their website:
- Solo Stove (UK / EU)
- Solo Stove (US)
(Disclaimer: this post contains affiliate links which help contribute to the cost of running this website and providing you with awesome reviews and trip reports. Thank you for your support!)
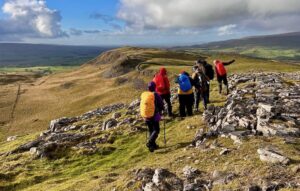
 Yorkshire Dales Geography Field Day with Team Walking Hill Skills