
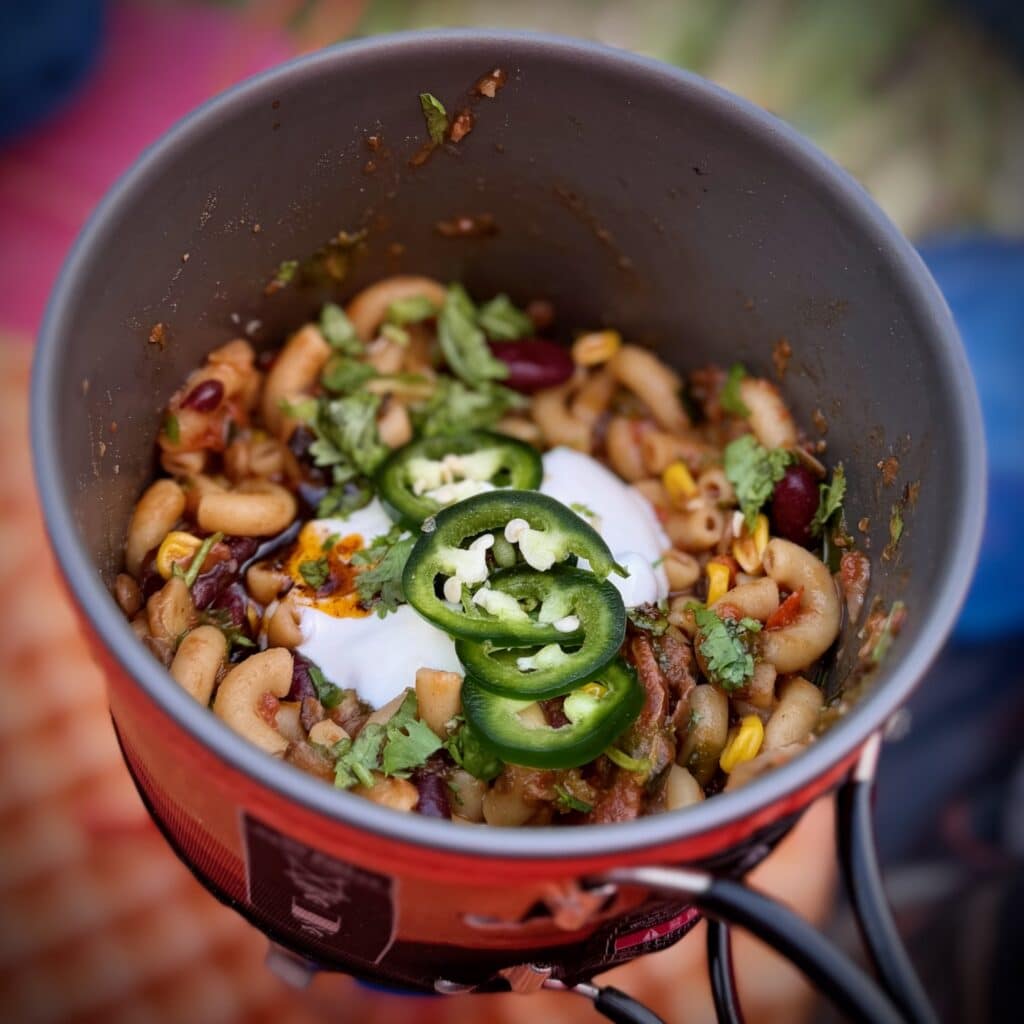
Chili is one of my all-time favourite trail meals (see my recipe for black bean and sweet potato chili), and chilli mac takes it one step further by adding extra carbs to make this a truly filling, complete meal. And like all my favourite trail meals, it takes well to all sorts of delicious tasty garnishes!
You can turn pretty much any chili recipe into a chili mac by simply adding macaroni or another small pasta shape. This recipe is a true one-pot wonder — the macaroni cooks right in with everything else, soaking up all that rich, chilli-tomato flavour as it goes.
For the best chili mac…
If you have the time, I definitely recommend making your own chili powder – it’s easy to make and way more flavourful than stale store bought stuff that’s been sitting on the shelves for years. You’ll need some dried ancho or other mild chilli here (chilli flakes are easiest to deal with) and a few other pantry basics. See full info on making your own chili powder in the recipe notes.
Make it meaty…
The recipe below is vegetarian and vegan (and gluten-free if you use GF pasta), but you can easily make it meaty by sautéing some lean ground beef and adding it in after the onions. Make it a chili mac and cheese by stirring in some cheddar at camp (you can buy freeze-dried cheddar which is suprisingly good, or better still, go for a generous heap of grated mature cheddar if you’re not counting grams). I particularly love this one garnished with sour cream and fresh jalapeños.

Tired of Sad Expensive Packet Meals on the trail?
Fuel Your Adventures with Real Food
Turn your favourite home dinners into light, packable, actually-delicious backpacking meals. Learn exactly how to dehydrate, store, and rehydrate hearty plant-based recipes so they taste great at camp and don’t weigh you down. Perfect if you want real nutrition, less plastic packaging, and dinners you’ll look forward to all day. This bargain £4.99 eBook includes no nonsense tips for home dehydration, plus 20 adaptable world-inspired plant-based dinners to get you started.
Veggie chili Mac Quick Facts
- Makes: 5 hearty trail dinners
- Dried weight: ~750g total (~150g per portion)
- Per portion: ~580 kcal · 110g carbs · 26g protein · 6g fat
Like most dehydrated meals, this one is naturally low in fat once dried — so I always pack a little extra fat to add back at camp. Grated or dried cheddar and a spoonful of salsa macha or other flavoured oil both do the job, plus they add a ton of flavour.
Recipe inspired by Nisha’s One Pot Veggie Chili Mac, with my own adaptations to make it trail friendly..
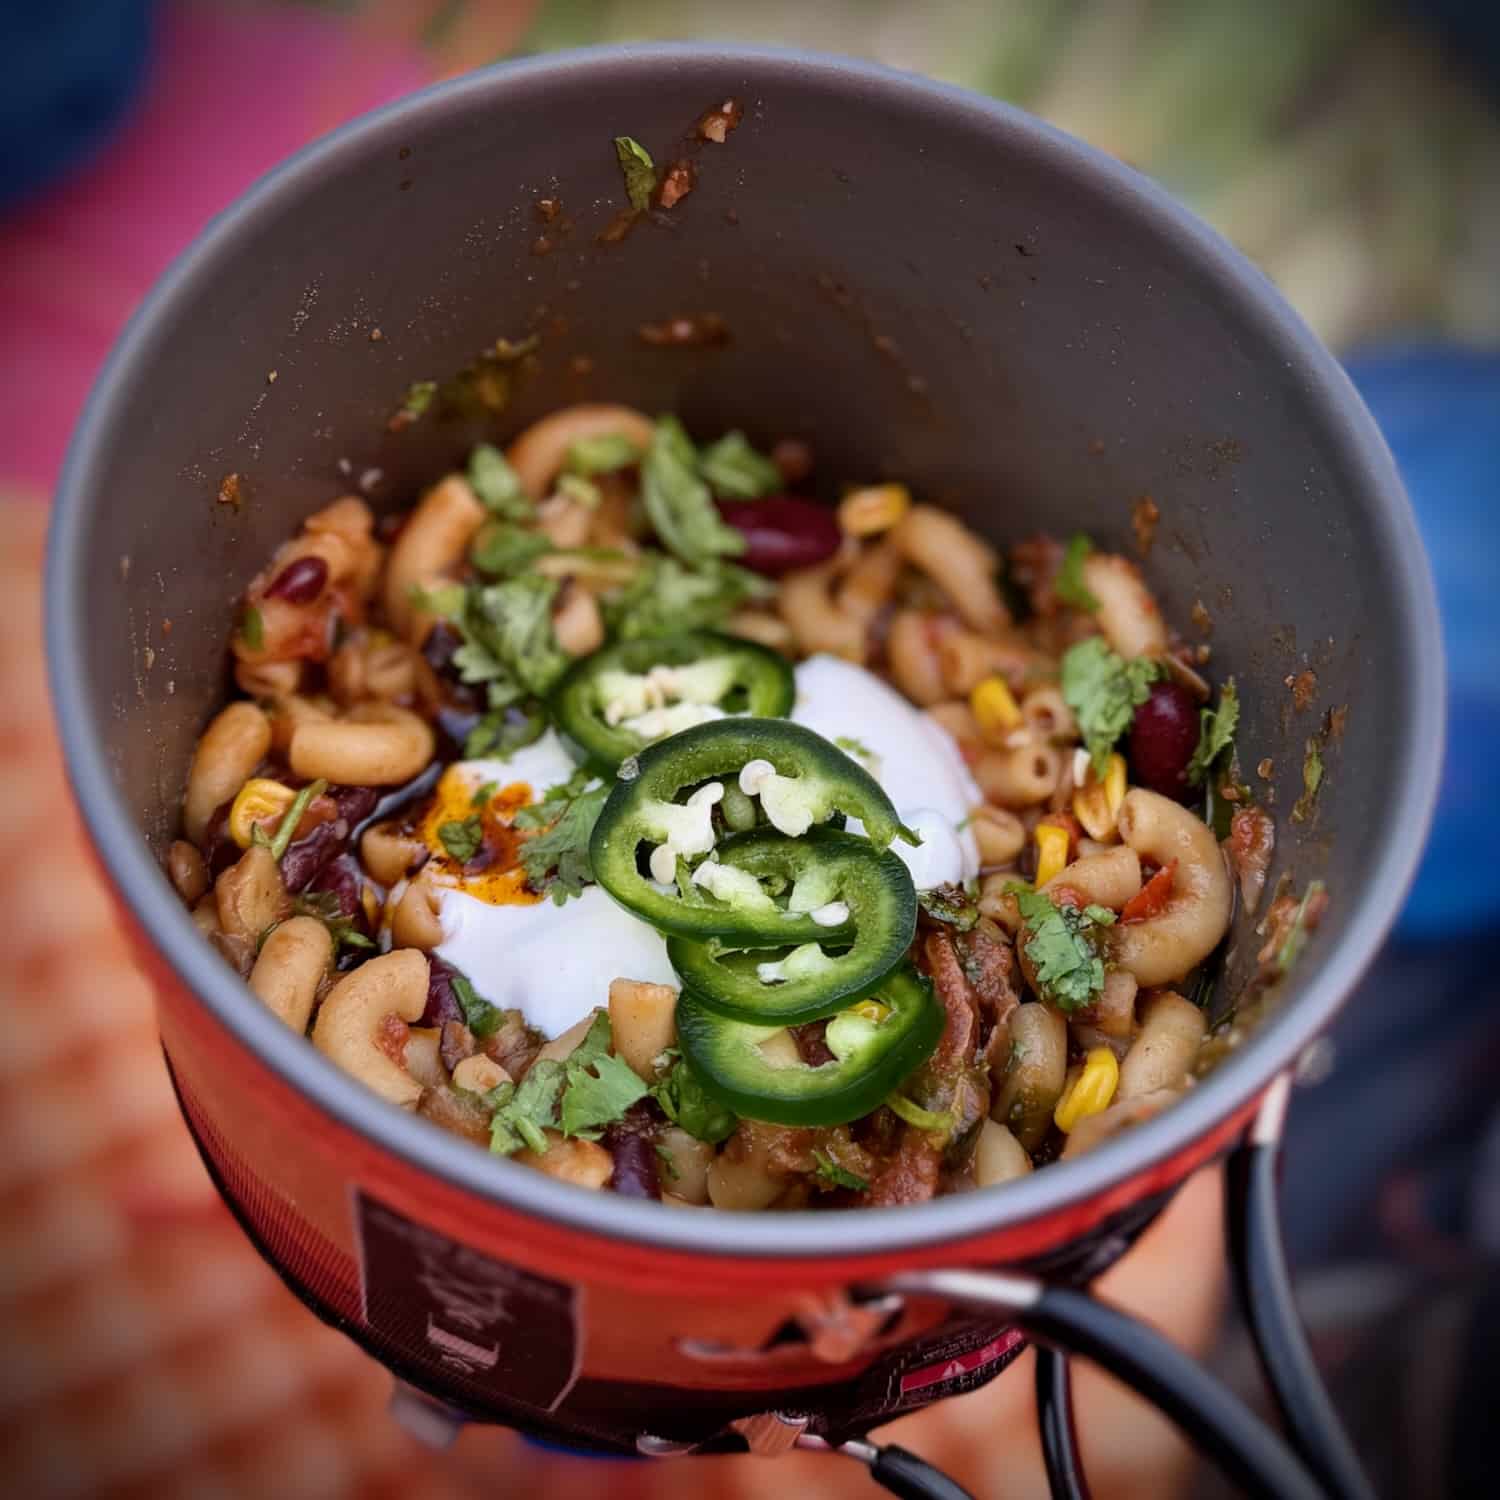
Veggie Chili Mac [Dehydrated Meal Recipe]
Ingredients
Method
- Heat the olive oil in a large pot over medium heat. Add the onion with a pinch of salt and cook for a few minutes, until soft but not browned.
- Add the garlic, fresh mushrooms, and dried mushrooms (if using). Cook for 5 more minutes. Stir in the chilli powder, paprika, oregano, cumin, cayenne, and salt, and cook for another minute or so, until fragrant.
- Pour in the vegetable broth to deglaze the pot, scraping up any browned bits from the bottom.
- Add the beans, lentils, crushed tomatoes, tomato paste, corn, and pasta. Stir well to combine.
- Bring to a boil, then reduce the heat to a simmer. Cook for 12–15 minutes, stirring occasionally so the pasta doesn’t stick, until it’s cooked through but not mushy.
- Season to taste with salt and pepper, adjusting the spices however you like.
- Spread the cooked chilli mac in a thin, even layer across your dehydrator trays lined with non-stick sheets or parchment.
- Dehydrate at 57°C/135°F for 6–8 hours, stirring and breaking up the mixture every couple of hours so it dries evenly. It's ready when the pasta and beans are hard and brittle, with no soft or tacky spots.
- Let cool completely, then portion into freezer bags or vacuum-seal bags — roughly 1½ to 2 cups per serving, depending on appetite.
- Store in a cool, dark place. Because this recipe is made with very little added fat, it should keep well for several months.
- Add just enough boiling water to cover the dehydrated chilli mac (roughly a 1:1 ratio by volume — add a splash more if it looks dry).
- Seal the bag or pot and let it sit for 10–15 minutes, giving it a stir halfway through.
- Check that the pasta is fully rehydrated and tender; add a little more hot water and let it sit longer if needed.
- Stir well, pile on your garnishes, and dig in.

 Mountain Muesli: Healthy Muesli Mix for Camping and Backpacking
Leave a Reply